利用Python和OpenCV庫(kù)將URL轉(zhuǎn)換為OpenCV格式的方法
過去幾個(gè)月,有些PyImageSearch讀者電郵問我:“如何獲取URL指向的圖片并將其轉(zhuǎn)換成OpenCV格式(不用將其寫入磁盤再讀回)”。這篇文章我將展示一下怎么實(shí)現(xiàn)這個(gè)功能�。
額外的,我們也會(huì)看到如何利用scikit-image從URL下載一幅圖像�。當(dāng)然前行之路也會(huì)有一個(gè)常見的錯(cuò)誤,它可能讓你跌個(gè)跟頭����。
繼續(xù)往下閱讀��,學(xué)習(xí)如何利用利用Python和OpenCV將URL轉(zhuǎn)換為圖像
方法1:OpenCV����、NumPy、urllib
第一個(gè)方法:我們使用OpenCV�����、NumPy、urllib庫(kù)從URL獲取圖像�����,并將其轉(zhuǎn)換為圖像�����。打開并新建一個(gè)文件�,取名url_to_image.py,我們開始吧:
# import the necessary packages
import numpy as np
import urllib
import cv2
# METHOD #1: OpenCV, NumPy, and urllib
def url_to_image(url):
# download the image, convert it to a NumPy array, and then read
# it into OpenCV format
resp = urllib.urlopen(url)
image = np.asarray(bytearray(resp.read()), dtype="uint8")
image = cv2.imdecode(image, cv2.IMREAD_COLOR)
# return the image
return image
首先要做的就是導(dǎo)入我們必需的包�����。我們將使用NumPy轉(zhuǎn)換下載的字節(jié)序?yàn)镹umPy數(shù)組����,使用urllib來執(zhí)行實(shí)際的網(wǎng)絡(luò)請(qǐng)求,使用cv2來綁定OpenCV接口�。
在第7行,我們定義了我們的url_to_image函數(shù)��。這個(gè)函數(shù)帶一個(gè)url參數(shù)�����,也就是我們想要下載的圖像地址。
接下來�����,在第10行�����,我們使用urllib庫(kù)來打開這個(gè)圖像鏈接���。11行則將這個(gè)下載下來的字節(jié)序轉(zhuǎn)換為NumPy數(shù)組。
至此����,NumPy數(shù)組還是一個(gè)1維數(shù)組(也就是一個(gè)長(zhǎng)長(zhǎng)的像素鏈表)。為了將其轉(zhuǎn)換為2維格式���,假設(shè)每個(gè)像素3個(gè)通道(意即分別為紅�,綠�����,藍(lán)通道),在12行我們使用cv.imdecode函數(shù)����。最后,在15行我們返回解碼出來的圖像給調(diào)用函數(shù)����。
一切就緒,該到讓它工作的時(shí)候了:
# initialize the list of image URLs to download
urls = [
"http://www.pyimagesearch.com/wp-content/uploads/2015/01/opencv_logo.png",
"http://www.pyimagesearch.com/wp-content/uploads/2015/01/google_logo.png",
"http://www.pyimagesearch.com/wp-content/uploads/2014/12/adrian_face_detection_sidebar.png",
]
# loop over the image URLs
for url in urls:
# download the image URL and display it
print "downloading %s" % (url)
image = url_to_image(url)
cv2.imshow("Image", image)
cv2.waitKey(0)
3-5行定義了我們將要下載和轉(zhuǎn)換為OpenCV格式的圖像地址列表���。
第9行我們遍歷這個(gè)列表����,13行則調(diào)用url_to_image函數(shù)��,然后在14行和15行將獲取的圖像顯示到屏幕上��。到此呢�����,我們就可以像正常情況下一樣����,使用OpenCV來操作和處理這些圖像了�����。
眼見為實(shí)����,打開終端��,執(zhí)行如下指令:
代碼如下:
$ python url_to_image.py
如果一切順利的話�,你會(huì)看到OpenCV的logo:
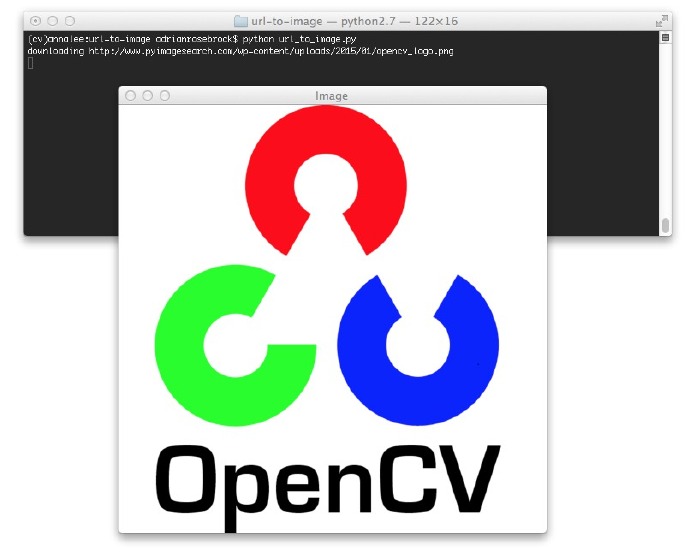
圖1:從URL下載OpenCV logo并轉(zhuǎn)換為OpenCV格式
接下來是Google的logo:
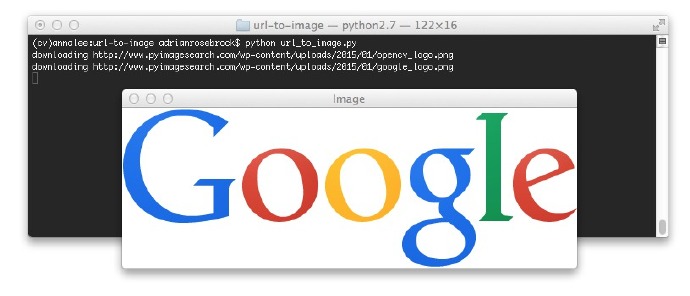
圖2:從URL下載Gooogle并轉(zhuǎn)換為OpenCV格式
這里也有在我書中驗(yàn)證人臉檢測(cè)的例子,《Practical Python and OpenCV》:
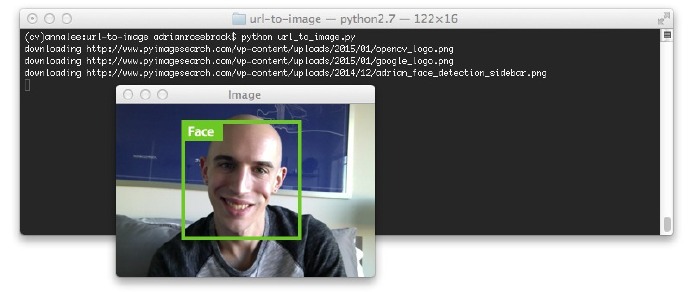
圖3:轉(zhuǎn)換一個(gè)URL圖像為OpenCV格式
現(xiàn)在���,我們來看另一種獲取圖像并轉(zhuǎn)換為OpenCV格式的方法。
方法2:使用scikit-image
第二種方法假定你已經(jīng)在你計(jì)算機(jī)上安裝好了scikit-image庫(kù)�����。讓我們看看怎樣采用scikit-image從URL獲取圖像并將其轉(zhuǎn)換為OpenCV格式:
# METHOD #2: scikit-image
from skimage import io
# loop over the image URLs
for url in urls:
# download the image using scikit-image
print "downloading %s" % (url)
image = io.imread(url)
cv2.imshow("Incorrect", image)
cv2.imshow("Correct", cv2.cvtColor(image, cv2.COLOR_BGR2RGB))
cv2.waitKey(0)
scikit-image庫(kù)中做得很漂亮的一點(diǎn)是:io子庫(kù)中的imread函數(shù)能夠區(qū)分圖像路徑到底在磁盤上還是一個(gè)URL(第9行)����。
盡管這樣,這里有一個(gè)很嚴(yán)重的錯(cuò)誤可能讓你跌一個(gè)跟頭��!
OpenCV以BGR順序表達(dá)一幅圖像�����,然而scikit-image則是RGB順序。如果你使用scikit-iamge的imread函數(shù)�,而且還想在下載完成后使用OpenCV的函數(shù),那么你要小心了�����。如41行所述��,你需要將圖像從RBG轉(zhuǎn)換為BGR��。
如果你沒有這一步��,那么你可能得到錯(cuò)誤的結(jié)果:
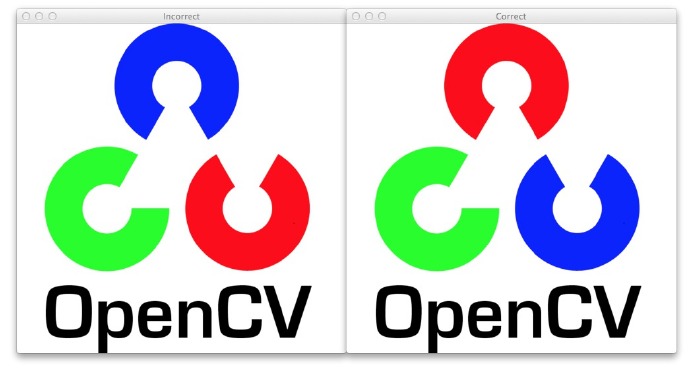
圖4:在用scikit-image時(shí)���,需要特別注意將RGB轉(zhuǎn)換為BGR���。左邊的圖像就是不正確的RGB順序,右邊的則是將RGB轉(zhuǎn)換為BGR����,所以能正常顯示。
看看Google的logo就更明顯了

圖5:順序很重要。確保將RGB轉(zhuǎn)換為BGR���,否則就留下了一個(gè)很難發(fā)現(xiàn)的bug��。
到此為止�����,你明白了吧�����!這兩種方法分別使用Python���、OpenCV、urllib,和scikit-image來將URL指向的圖片轉(zhuǎn)換為圖像���。
總結(jié)
本文中,我們學(xué)會(huì)了如何從URL獲取圖像��,且使用Python和OpenCV將其轉(zhuǎn)換為OpenCV格式��。
第一種方法使用urllib包獲取圖像����,使用Numpy轉(zhuǎn)換為數(shù)組�����,最后使用OpenCV重新構(gòu)建數(shù)組產(chǎn)生我們的圖像�。
第二種方式使用scikit-image中的io.imread函數(shù)��。
所以����,哪種更好呢?
這完全取決于你的安裝���。
如果你已經(jīng)安裝scikit-image��,那么我可能就用io.imread(只是不要忘記如果要用OpenCV函數(shù)的話����,要將RGB轉(zhuǎn)換為BGR)�。
如果你沒有安裝scikit-image,那么url_to_image就是手邊現(xiàn)成的工具�。具體細(xì)節(jié)參考本文開始處。
我很快會(huì)在Github上將這個(gè)函數(shù)添加到imutils庫(kù)中����。
CDA數(shù)據(jù)分析師考試相關(guān)入口一覽(建議收藏):
? 想報(bào)名CDA認(rèn)證考試���,點(diǎn)擊>>>
“CDA報(bào)名”
了解CDA考試詳情;
? 想學(xué)習(xí)CDA考試教材��,點(diǎn)擊>>> “CDA教材” 了解CDA考試詳情�;
? 想加入CDA考試題庫(kù),點(diǎn)擊>>> “CDA題庫(kù)” 了解CDA考試詳情�;
? 想了解CDA考試含金量,點(diǎn)擊>>> “CDA含金量” 了解CDA考試詳情�����;


 京公網(wǎng)安備 11010802034615號(hào)
經(jīng)營(yíng)許可證編號(hào):京B2-20210330
京公網(wǎng)安備 11010802034615號(hào)
經(jīng)營(yíng)許可證編號(hào):京B2-20210330